Pages

Wednesday, July 10, 2013

Distressing Jeans

Let’s rehash – I had these jeans.

IMG_1890IMG_1891

I fixed the bum area – here’s another view.

005IMG_1909

Then I started the distressing process.  First I used coarse sandpaper.  It did an okay job, but mainly created holes.  Since it wasn’t showing the white threads like I wanted, I decided to try picking out the blue threads with a seam ripper.

IMG_1903IMG_1906

I think they work!

IMG_1908

Tuesday, July 9, 2013

Dumpy Bum

I had a pair of jeans that were super comfortable and I really liked…until I saw myself in a picture.

These pictures to be exact.

005016

They did not look good on.  So the jeans went into a pile to be donated, or redone.  FYI the pictures above were from Easter of 2012.

Since I’m obsessed with the boyfriend jean, but don’t actually own any, I thought I would grab this pair of jeans and try to turn them into the boyfriend jeans.

First I needed to address the dumpy bum.  I ripped the seam out from the crotch to the bottom of the belt loop as shown by the arrow below.

back of jeans arrow

I then took in some fabric from both sides to keep the pocket placement even, but closer together and pinned the new seam line.  At the middle of the bum, I probably took in an extra inch or so.  Nothing major, but just enough to go from dumpy to more defined.

IMG_1891IMG_1900

These are the same jeans (ignore the rolling on the after shot, that’s to get them to boyfriend jean stage).  You can barely tell the pockets are closer together, but something about it just looks better.  It was actually super easy to do, all you really need to make sure you have is a denim needle and some topstitching jean thread (usually gold).

I just finished going at the jeans with a piece of sandpaper.  I plan to throw them in the laundry tonight and them wear them out tomorrow night.  Be ready for the complete transformation tomorrow!

Monday, July 8, 2013

House Remodeling

This past week we had extra help with the kids, so we tackled a bigger house project.

Any free time I had last week, I spent helping my husband build our screened in porch.  The porch is located off our Master Bedroom, adjacent to my home office. 

It’s all done, now we just need to furnish the space.  We will be scrounging Craigslist, and end of season sales to see what we can come up with.

Here is a sneak peak at the space from the outside.

IMG_1888

It should be back to a regular week this week…to include a new project from The Summer Challenge.

Wednesday, July 3, 2013

A Birthday Gift

Do you have an annoying overabundance of stuffed animals?  We do.

So we created a zoo/cage for all of them.

IMG_1701

We started with this wood box I picked up at the Salvation Army Store.  It was labeled as a tv stand and on sale for $7.  You could also easily build the box yourself if you wanted.  I painted the box white and added some wood slats on the back and string in the front.  I also added a signage board in the front so I could label the box.  We put ours on wheels, so that it can both be wheeled around and so that we could tie the string off on the bottom and have the cage still be stable.

IMG_0377

Someone though it was cute, and liked the animal letters on the front.  The new rule will be, if it doesn’t fit in the cage, it’s time to get rid of some stuffed animals!

IMG_1702

Thanks to dad for helping out so we could get this finished and to Oliver in time for his birthday!

Tuesday, July 2, 2013

Dining Room Changes

We just finished up remodeling our dining room.  We didn’t do anything major as far as changing layouts, knocking down walls, etc.  We did manage to touch pretty much every surface of the room.

IMG_1853

IMG_1842

When changing colors in a room, don’t over look the power of spray paint.  Or even paint in general.  All our decorations and furniture were from our first house.  In our first house I went with a burnt orange color.  Therefore my decorations were that same orange color.

IMG_1588

But a little spray paint on the plate easily changes it from orange to navy blue.

IMG_1589IMG_1847

And a little antique bronze paint on the candles takes them from orange to metallic.

IMG_1588IMG_1859

I also used the scraps from the new drapes to sew a table runner.  I am thinking about adding some metallic paint to that as well, but have not attempted it yet.

And lastly the old dining room chairs had a faux black leather seat cushion.  Seat cushions are very easy to change out, and make such a dramatic difference when you add a bold print.

IMG_1579IMG_1862

And let’s not forget we also spray painted the chandelier to get rid of the bright white candle holders and made them also navy blue to blend into the room better.

IMG_1591

So if you get tired of your old decorations….see if you can paint them before you decide to buy new!

If you would like to see all the before and after pictures of our dinning room remodel click here.

Monday, July 1, 2013

It’s a Farm Party

My Son Oliver turned 2 this weekend.  He loves his animals, so we did a farm party for him.

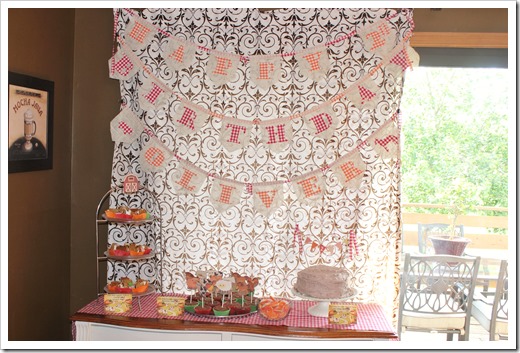
The burlap and gingham banner read “Happy 2nd Birthday Oliver”.
IMG_1735

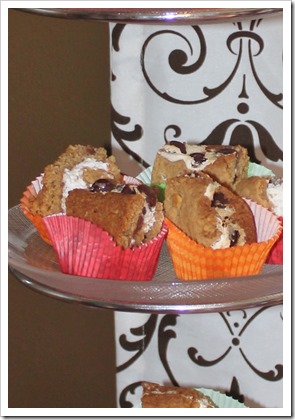
We had smores bars courtesy of this recipe.
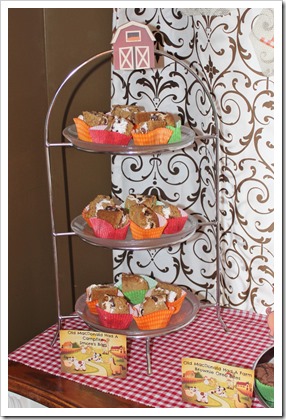
IMG_1737IMG_1737

Brownie Oreo bites.  No recipe, just take an Oreo cookie top with peanut butter, add another Oreo and top with more peanut butter, then pour brownie batter around and on top of the cookies.  Bake according to your brownie recipe.  These were my favorite, although a lot of people liked the smores bars the best.

I also cut out little farm animals as toppers.

IMG_1738

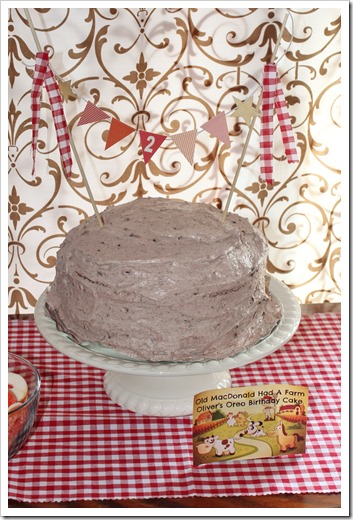
Oliver’s birthday cake was a regular white cake with Oreo cream pudding in the middle.  I made the little cake topper out of skewers and patterned paper glued to string.
IMG_1739

I also made little Old MacDonald food signs for all the food.

IMG_1740

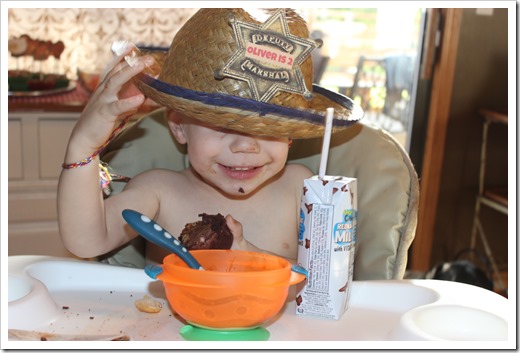
The birthday boy also got a special hat, and his own favorite drink….chocolate milk!
IMG_1753

For entertainment we had wagon rides on the riding lawnmower, a water hole (a.k.a pool), and horse rides on a little jump horse.

IMG_1749

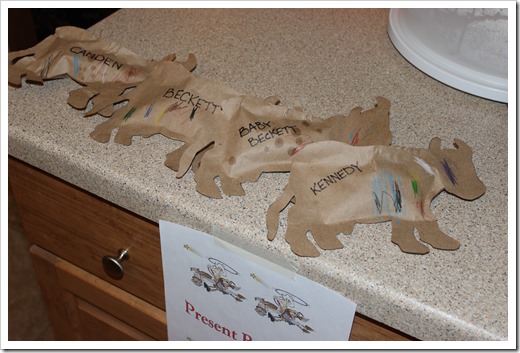
Our little guests got to go home with brown paper cows filled with goodies.  I had Oliver help color the cows for everyone, and I glued them together.
IMG_1756

Thanks for stopping by our little Farm Party!

IMG_1786

Thursday, June 27, 2013

Down on the Farm–A Countrified Dress

I have been seeing cute short flouncy dresses for summer everywhere.  I really wanted to make a white version, except the fabric I ordered had too much sheen in it.  In other words more appropriate for my daughter than myself.

So I looked in my stash and found a vintage flower print cotton that I had bought super cheap, and I had enough yardage to make the dress.  And it looked like it would make a great print to be “country” enough for the Farm Party.

Enter The Farm Party Dress.

IMG_1697

Really wishing I owned a pair of cowboy boots, but I don’t.  Here I am wearing it with heels, but I will definitely be wearing flats for the birthday party this weekend.